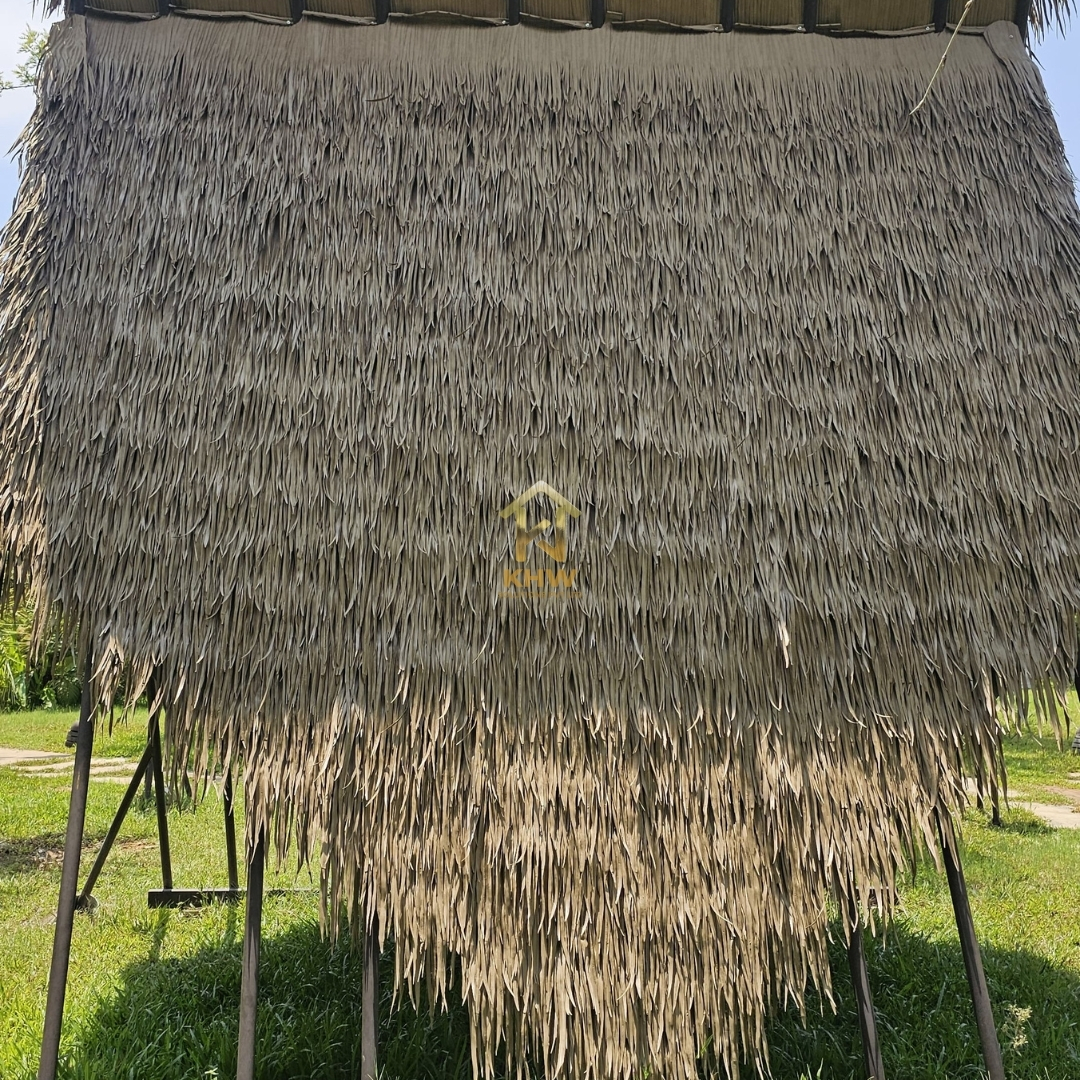
Before diving into the installation process, it’s essential to have a basic understanding of synthetic thatch. This roofing material, made from high-density polyethylene or similar durable materials, replicates the appearance of natural thatch while offering enhanced durability and longevity.

Site Preparation:
Start the installation process by preparing the site. Clear the roof surface of any debris, and ensure the underlying structure is sound and ready to support the synthetic thatch. Address any necessary repairs or improvements before moving forward. Proper site preparation sets the stage for a successful and long-lasting installation.
Installation of Underlayment:
Lay down a suitable underlayment to provide an additional layer of protection and insulation. The underlayment acts as a barrier, preventing water penetration and enhancing the overall durability of the synthetic thatch roof. Choose an underlayment material that aligns with the specific conditions of the Indian climate.
Synthetic Thatch Layering:
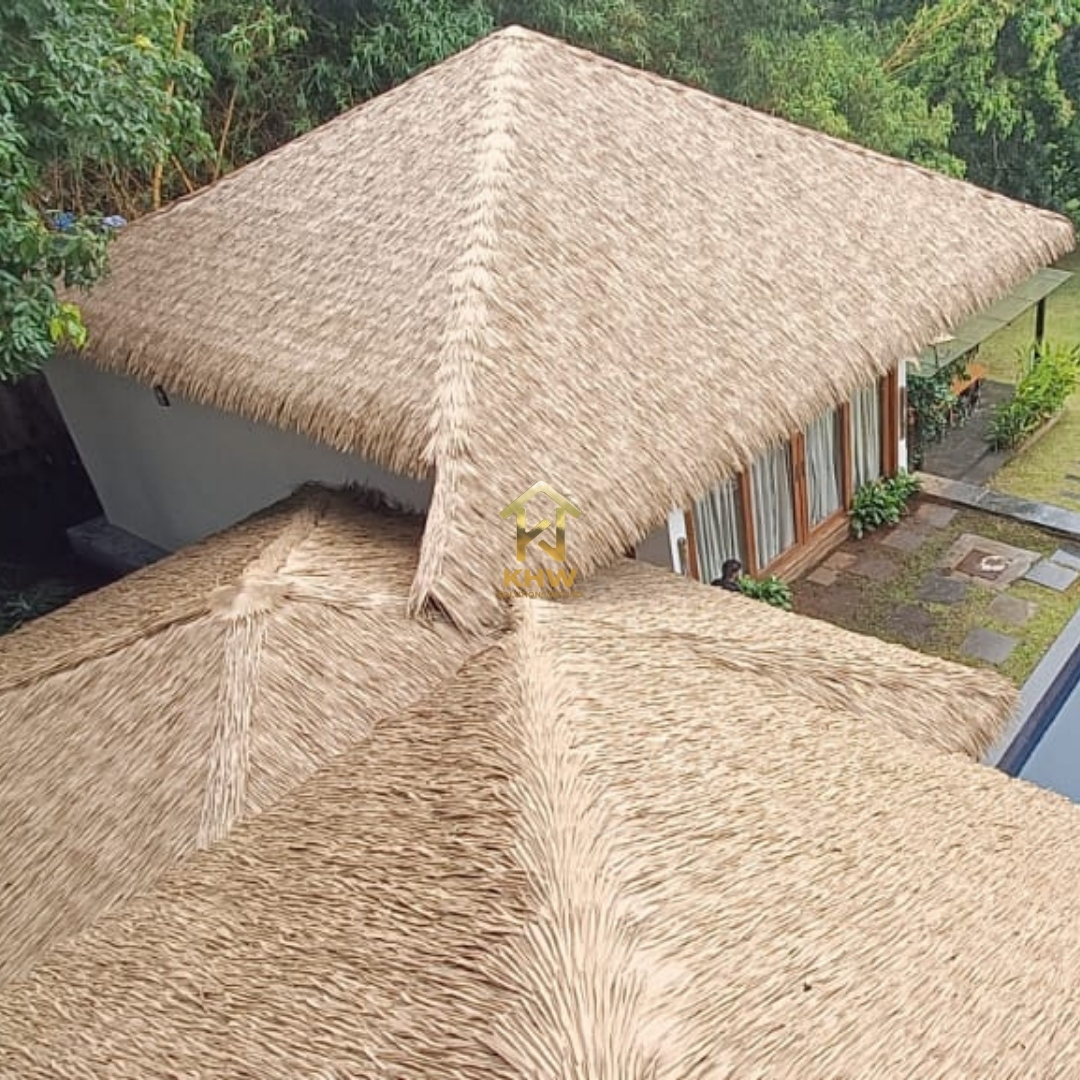
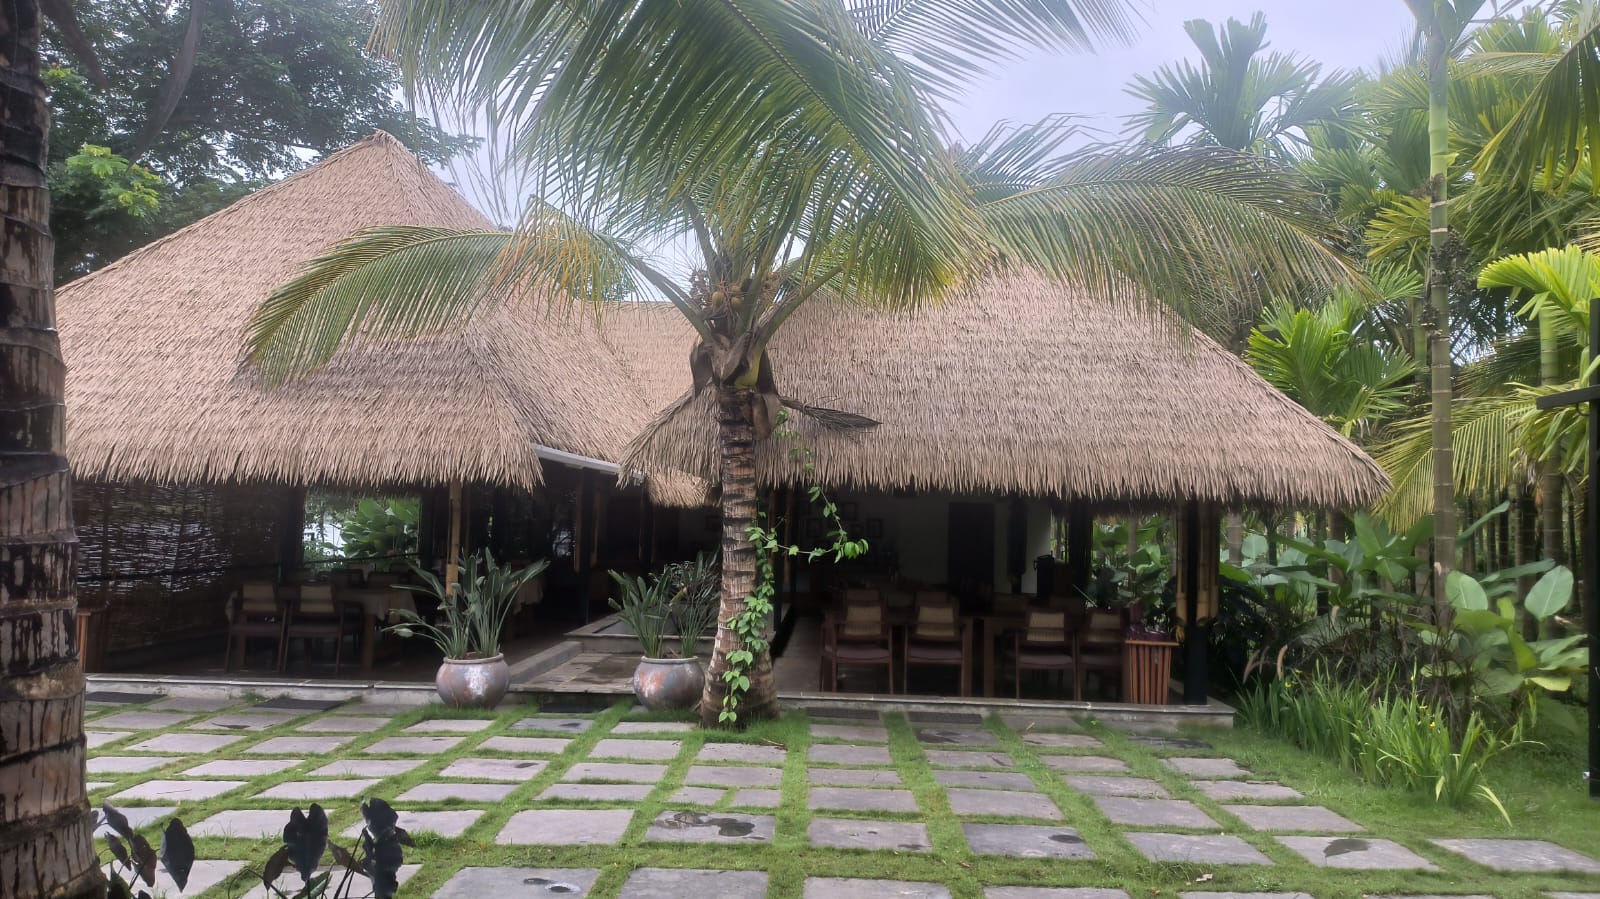
Carefully Installing synthetic thatch layers, ensuring they overlap correctly to create a seamless and watertight barrier. Follow the manufacturer’s guidelines for fastening the synthetic thatch to the roof structure. The layering process is critical for both the aesthetic appearance and functional integrity of the roof.
Trimming and Shaping:
Customize the synthetic thatch to fit the unique contours of your roof. Trim and shape the material with precision to achieve a polished and professional look. Pay attention to details, especially around edges and corners, to ensure a seamless integration with the architectural features of your Indian home.
Securing the Thatch:
Properly secure the synthetic thatch to the roof structure to withstand wind, rain, and other weather conditions prevalent in India. Use suitable fasteners and follow the recommended installation guidelines. This step is crucial for the long-term stability of the roof, especially during monsoons and other adverse weather events.
Weather Considerations:
Take into account the specific weather conditions of your region during synthetic thatch installation. If possible, plan the installation during a dry period to avoid complications related to rain or humidity. Follow best practices for working in different weather conditions, ensuring the synthetic thatch adheres securely to the roof.
Final Inspection and Quality Checks:
Conduct a thorough final inspection to ensure the synthetic thatch roof is installed correctly. Check for any visible defects, irregularities, or areas that may require additional attention. Quality checks at this stage help identify and address issues before they become more significant concerns.
Maintenance Guidelines:
Provide homeowners with maintenance guidelines to prolong the life of their synthetic thatch roof. Advise on routine inspections, cleaning procedures, and any specific care recommendations based on the manufacturer’s guidelines. Educating homeowners on proper maintenance ensures the longevity and performance of their synthetic thatch roof.
Installing synthetic thatch roof in your Indian home is a transformative project that enhances both aesthetics and functionality. By following this step-by-step guide and considering the unique aspects of the Indian climate, homeowners can achieve a seamless and durable synthetic thatch roof. Take pride in your well-executed installation and enjoy the beauty and benefits of synthetic thatch for years to come.